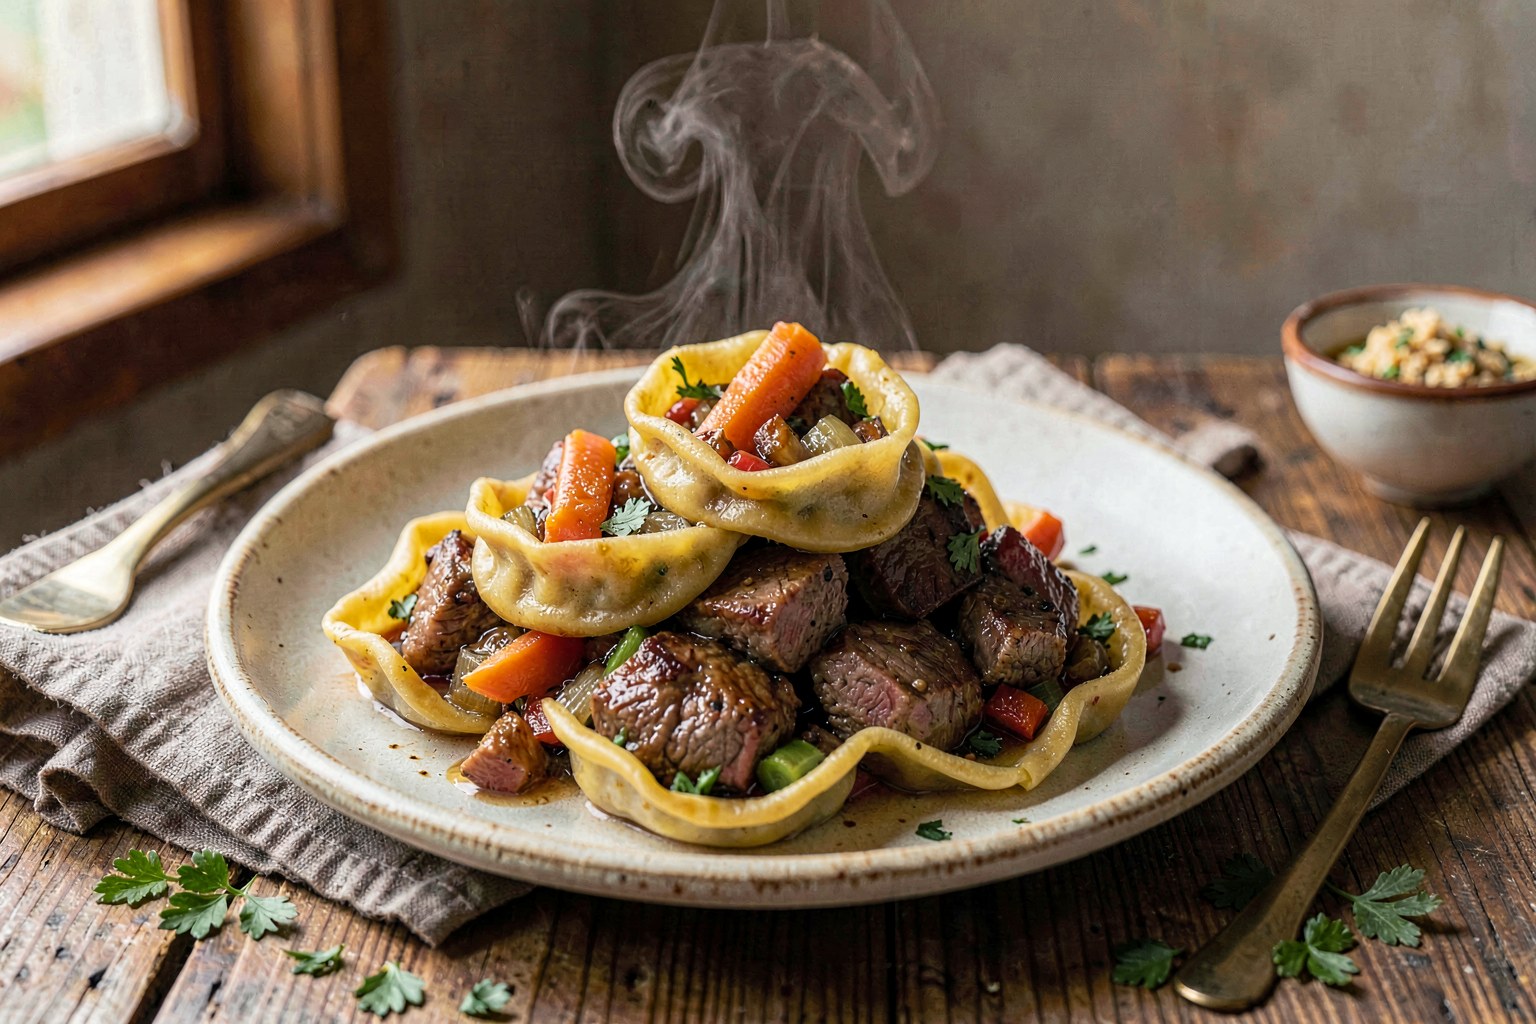
Agnolotti del Plin
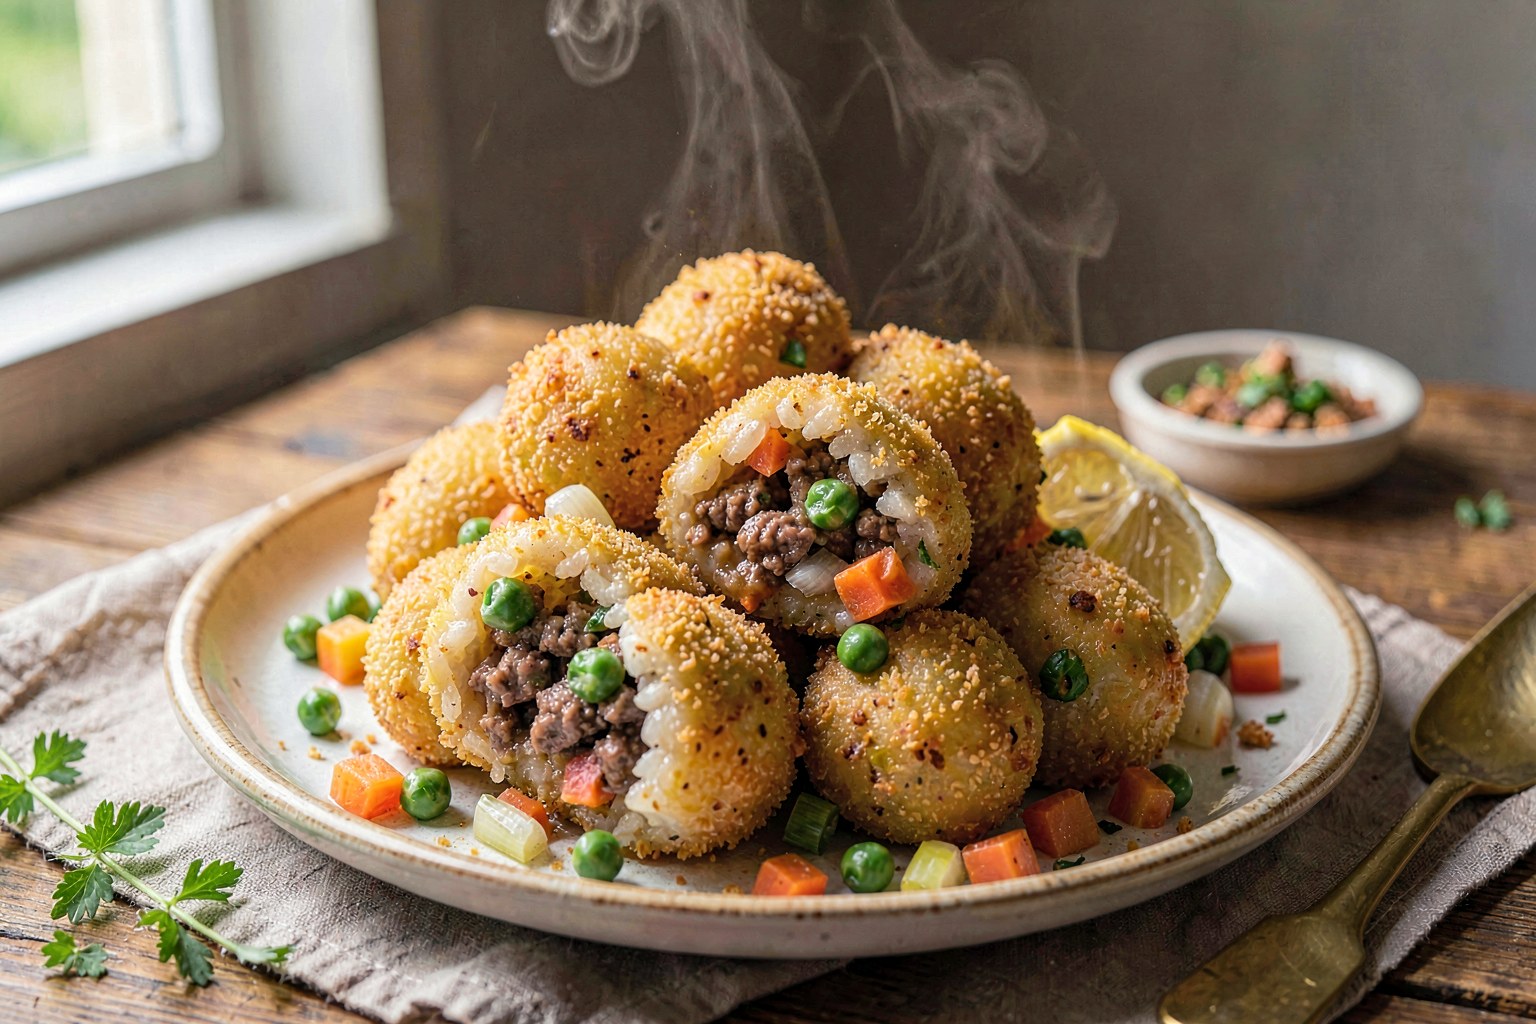
These delicate, hand-pinched pasta pockets from Piedmont are filled with a slow-braised mixture of roasted meats and vegetables. The result is a rich, savory bite with a tender, translucent egg pasta exterior that melts in the mouth when served with a simple brown butter and sage sauce.
A little context
Originating in the Langhe and Roero hills of Piedmont, Northern Italy, Agnolotti del Plin (or 'del Plie') dates back to the 19th century. The name refers to the 'pinch' technique used to seal the pasta, a method developed to ensure the filling remains moist and the pasta sheets do not burst during cooking. Traditionally, this dish is a Sunday or holiday centerpiece, often served simply with butter and sage or a light meat ragù to honor the complex flavor of the filling.
Method
- 01
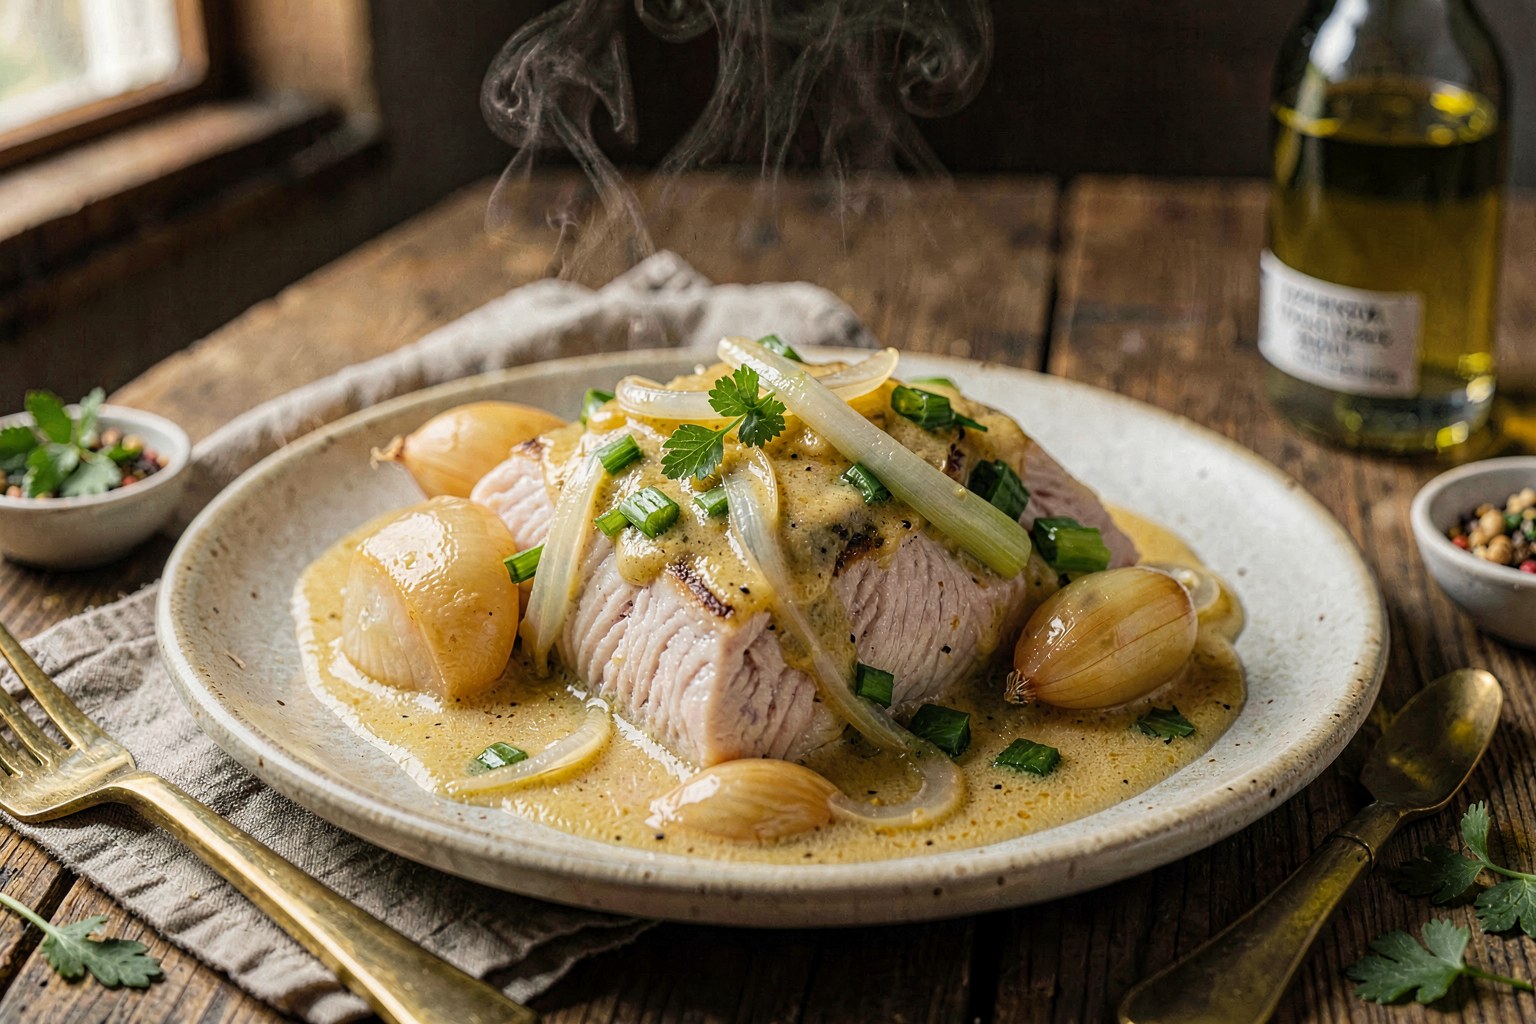
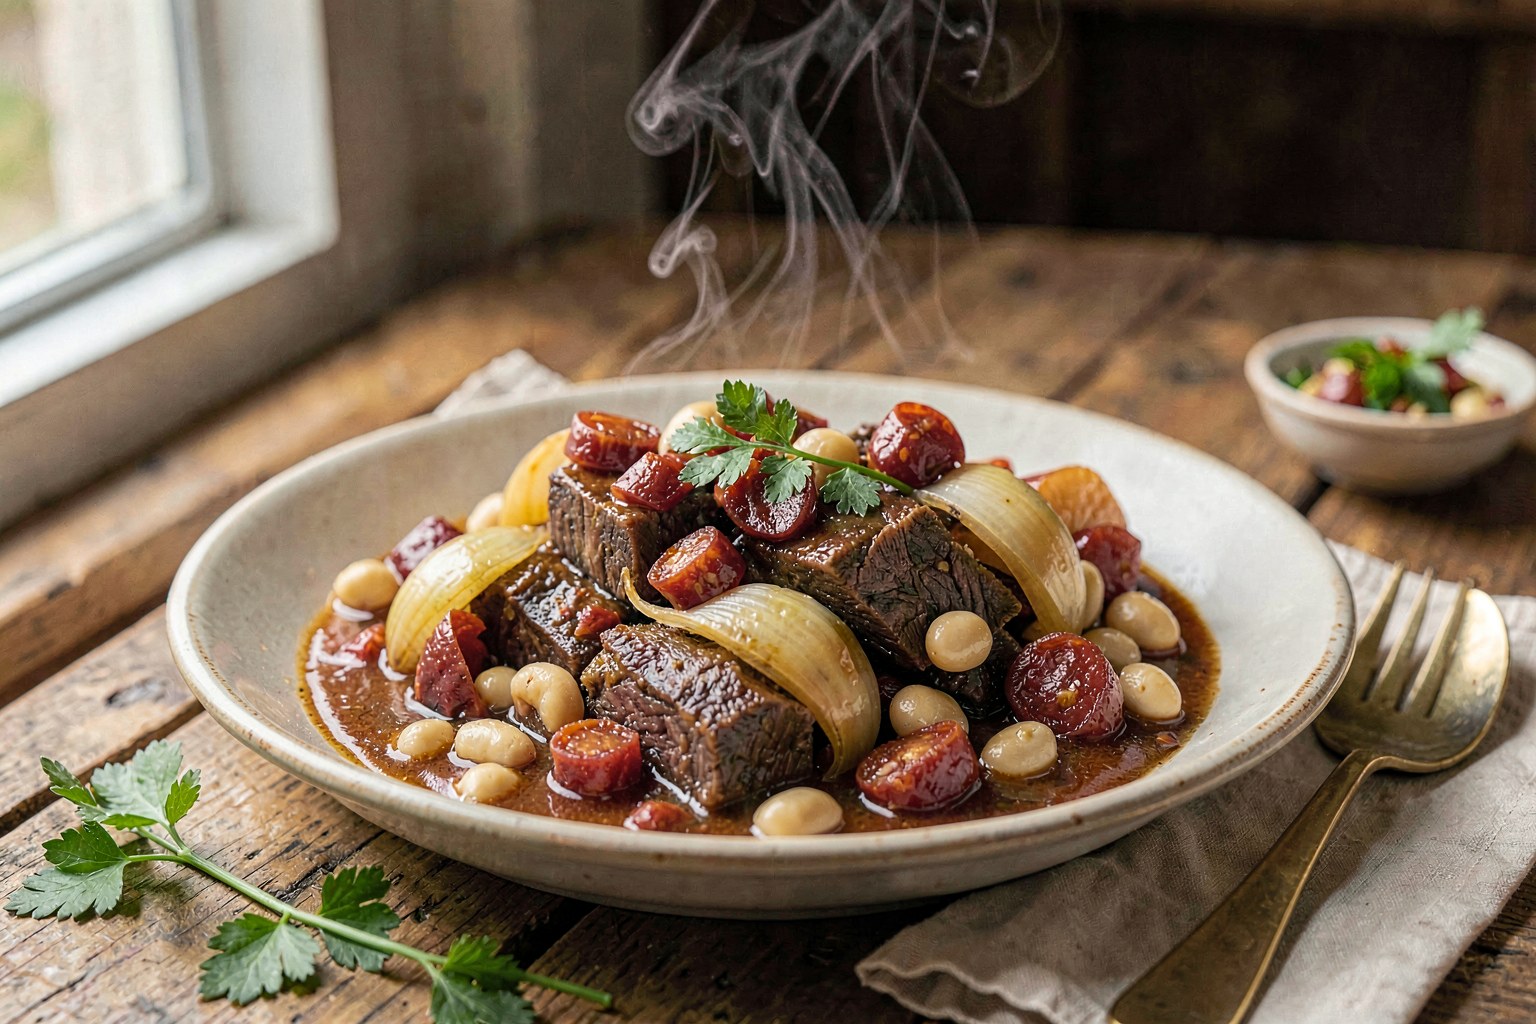
Braise the meat
Season the beef and pork cubes generously with salt and pepper. In a heavy Dutch oven, heat 2 tbsp olive oil over medium-high heat. Brown the meat in batches until deep golden, about 4 minutes per side. Remove meat. Add carrot, celery, and onion to the pot; sauté until softened (8 minutes). Deglaze with red wine, scraping up browned bits. Return meat to pot, add stock, cover, and simmer on low for 2.5 hours until the meat is falling apart.
- 02
Prepare the filling
Remove the meat and vegetables from the pot, discarding the cooking liquid (or save for sauce). Let the mixture cool completely. Pulse the meat and vegetables in a food processor until finely minced but not puréed. Transfer to a bowl, stir in the grated Parmigiano-Reggiano and the beaten egg. Taste and adjust seasoning. Cover and refrigerate for at least 1 hour to firm up.
- 03
Make the pasta dough
Mound the 00 flour on a clean work surface and create a well in the center. Crack the 6 eggs into the well. Using a fork, gently beat the eggs while gradually incorporating flour from the inner walls until a shaggy dough forms. Knead by hand for 10 minutes until smooth and elastic. Wrap tightly in plastic and rest at room temperature for 30 minutes.
- 04
Roll the pasta
Divide the dough into 4 pieces. Keep unused dough covered. Set your pasta machine to the widest setting. Feed one piece through, folding it in half and re-feeding 3 times to smooth it out. Gradually decrease the setting, passing the dough through once per setting, until you reach the second-thinnest setting (approx 0.6 mm). The sheet should be translucent; dust lightly with flour only if it sticks.
- 05
Fill and pinch
Lay a pasta sheet flat. Place small teaspoons of filling in a row, spaced 3 cm (1.25 inches) apart. Fold the sheet lengthwise over the filling. Press gently between the mounds to release air, then use your thumb and forefinger to 'pinch' the dough between each mound, creating the signature pleat. This seals the pasta and defines the individual agnolotti.
- 06
Cut the agnolotti
Using a sharp knife or pasta wheel, cut vertically between the pinched sections to separate the dumplings. They should look like little rectangular pillows with crimped edges. Place them on a floured tray, ensuring they do not touch. Repeat with remaining dough and filling.
- 07
Cook the pasta
Bring a large pot of heavily salted water to a gentle boil. Drop the agnolotti in. Fresh pasta cooks quickly; they are done when they float to the surface, usually 2 to 3 minutes. Do not overcook, or the filling will become dry.
- 08
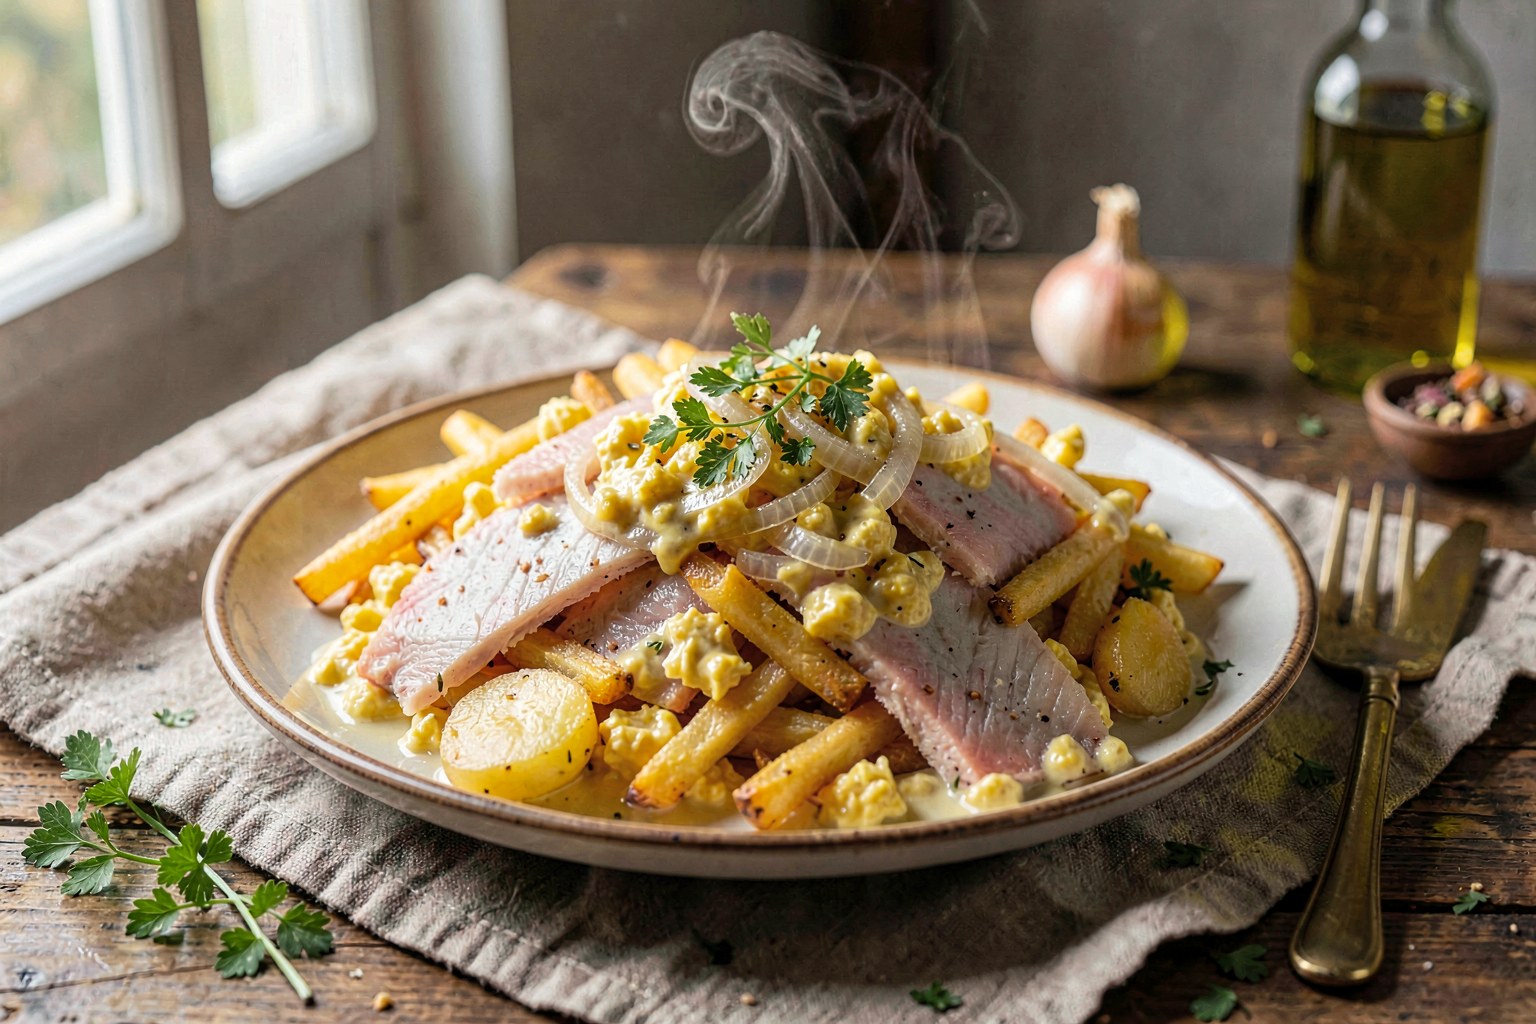
Make the sauce
While the pasta cooks, melt the butter in a large skillet over medium heat. Cook until it turns a nutty amber color and smells toasted (do not burn). Add the sage leaves and fry for 30 seconds until crisp.
- 09
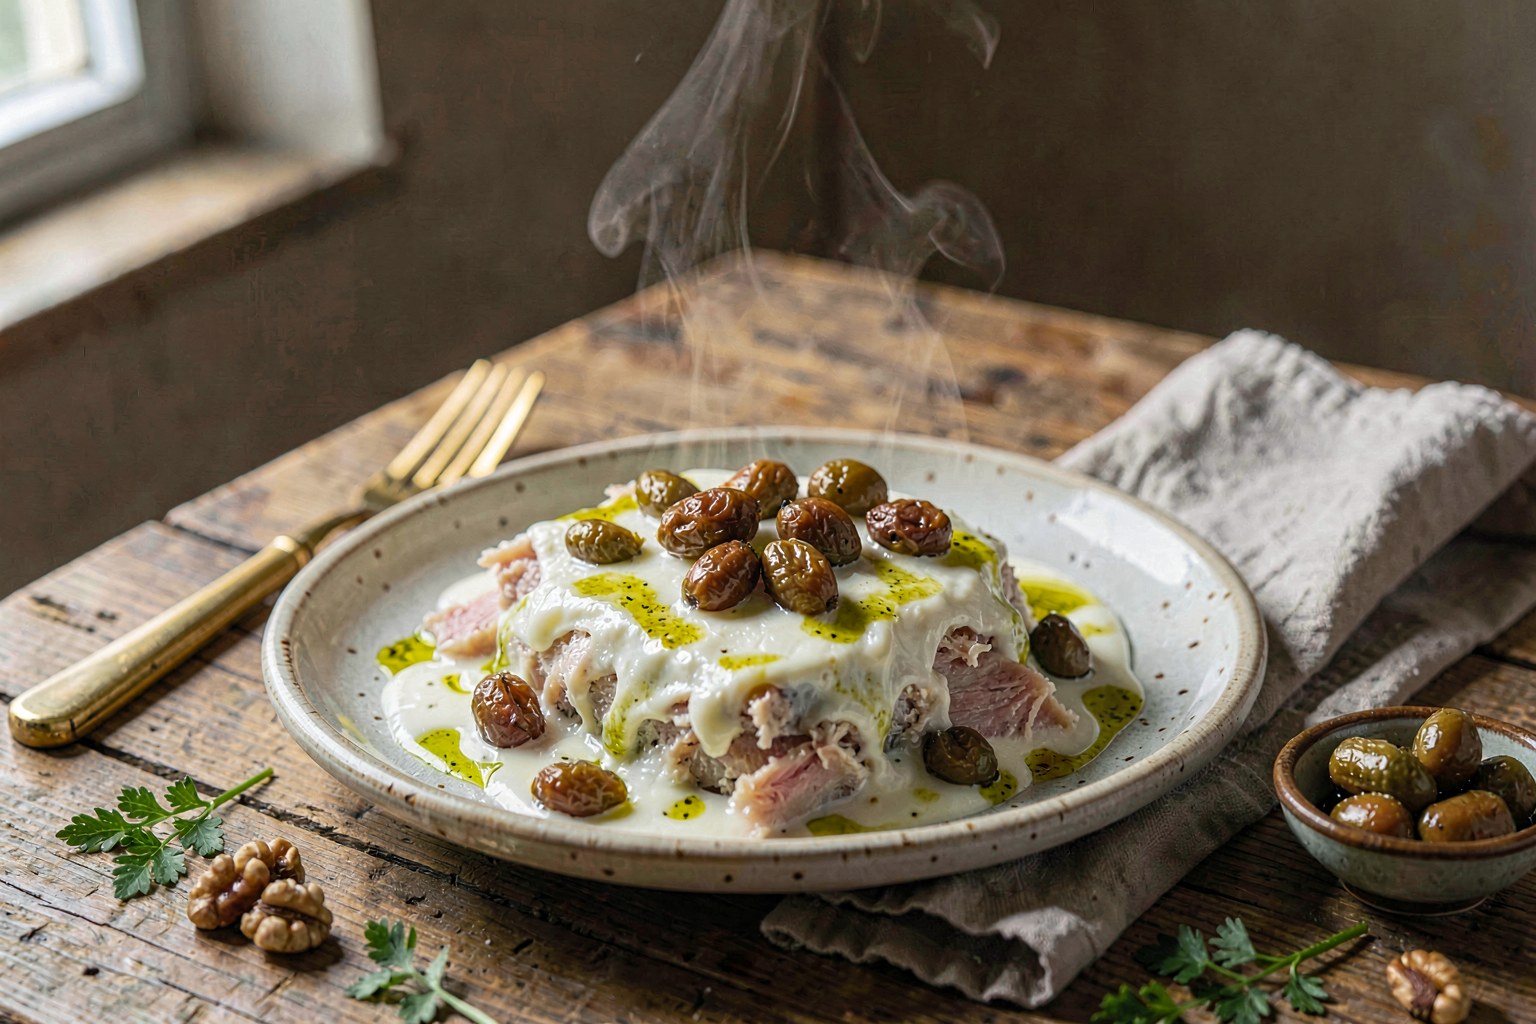
Finish and serve
Using a slotted spoon, transfer the cooked agnolotti directly into the skillet with the brown butter. Toss gently to coat, adding a splash of pasta water if needed to emulsify the sauce. Serve immediately with extra grated Parmigiano-Reggiano.
Pro tips
- ✦Ensure the filling is completely cold before pinching; warm filling will melt the butter in the dough and cause tearing.
- ✦The 'plin' (pinch) must be firm enough to seal but gentle enough not to squeeze the filling out.
- ✦If you don't have a pasta machine, roll the dough as thin as possible with a rolling pin until you can read a newspaper through it.
- ✦Fresh agnolotti can be frozen on a tray, then transferred to bags; cook from frozen, adding 1 minute to the cooking time.
- ✦Save the braising liquid, reduce it by half, and use it as a rich meat sauce for a second course.
Shop this recipe
As an Amazon Associate we earn from qualifying purchases.
Substitutions
- beef and pork → veal and rabbit (traditional Piedmontese variation)
- 00 flour → all-purpose flour (texture will be slightly less tender but acceptable)
- red wine → white wine (results in a slightly lighter, less tannic filling)
Storage
Refrigerate uncooked agnolotti on a floured tray covered in plastic for up to 24 hours. Freeze uncooked on a tray, then bag for up to 3 months. Cooked agnolotti keep in the fridge for 2 days; reheat gently in sauce.
What to serve with it
- Barolo or Barbaresco (Nebbiolo)
- Roasted root vegetables
- Simple green salad with bitter greens and vinaigrette
- Grilled asparagus
FAQ
Can I use ground meat instead of braised meat?+
No, authentic Agnolotti del Plin requires the texture and moisture of slow-braised, minced meat. Ground meat will be too dry and lack the complex depth of flavor.
Why did my pasta break when pinching?+
The dough was likely too dry or the filling was too warm. Ensure the dough is elastic and the filling is chilled.
Can I make this ahead?+
Yes, the filling can be made 2 days in advance. The dough can be made and rested the night before. Assemble and cook just before serving.