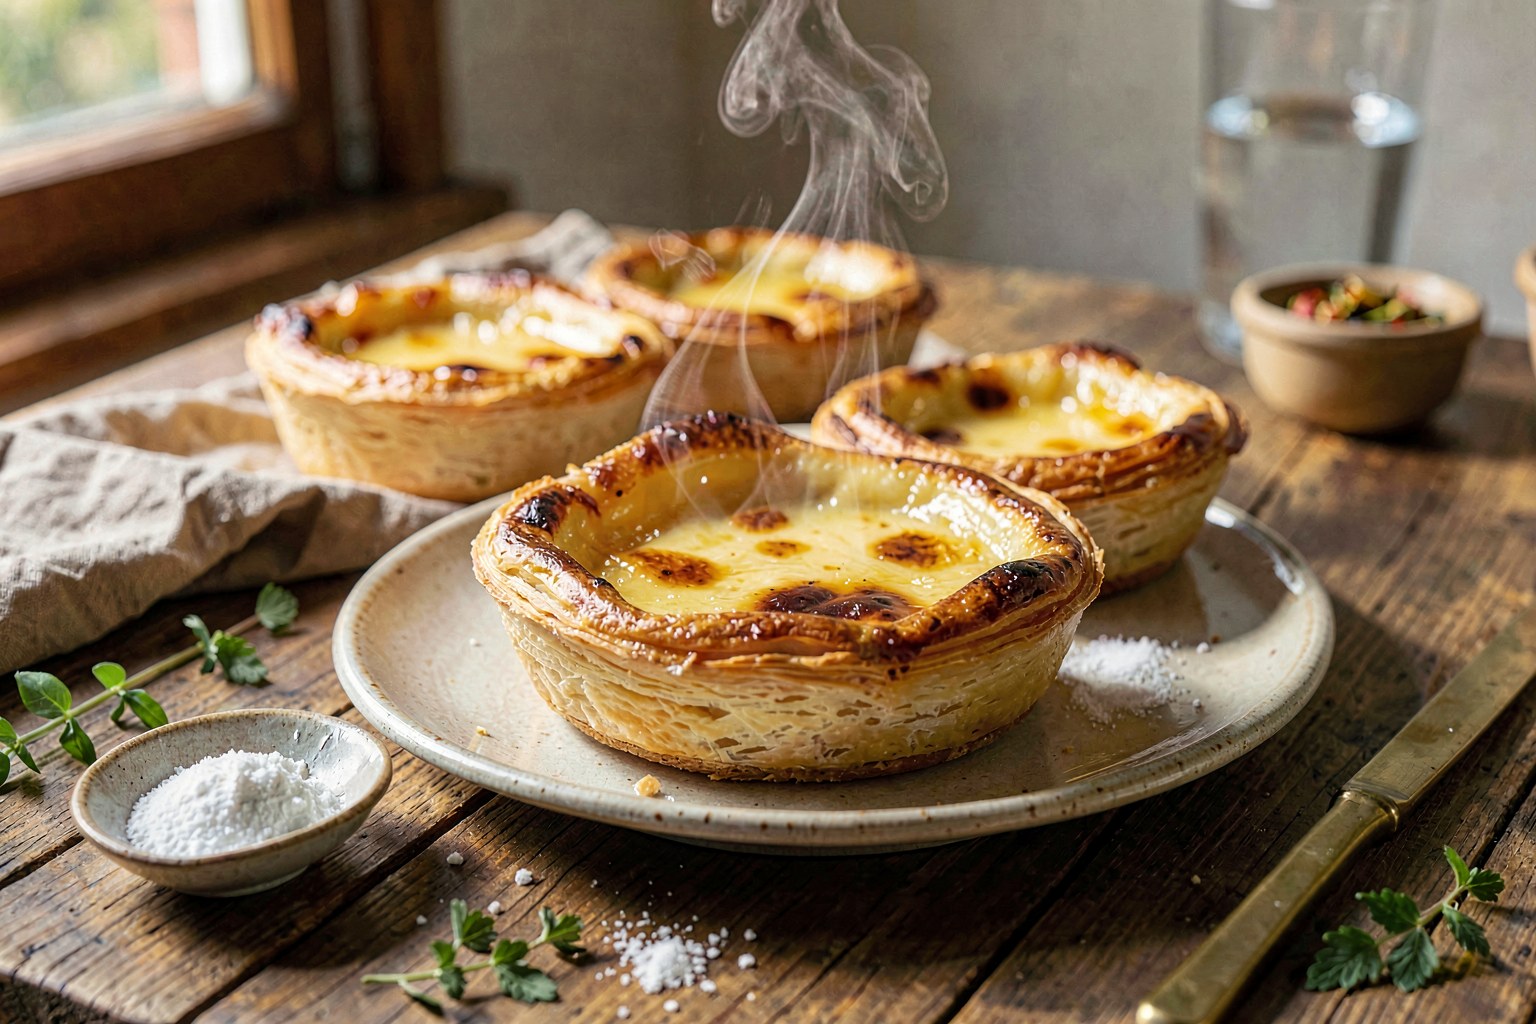
Pastéis de Nata (Portuguese Custard Tarts)
These iconic Portuguese tarts feature a blistered, caramelized custard filling nestled inside a shatteringly crisp, flaky puff pastry shell. The contrast between the warm, creamy vanilla-and-cinnamon custard and the buttery pastry creates a textural masterpiece that is best enjoyed immediately after baking.
A little context
Originating in the Jerónimos Monastery in Lisbon in the 18th century, these tarts were created by Catholic monks who needed to use egg yolks left over from starching their habits. After the monastery closed during the liberal revolutions, the recipe was sold to a nearby sugar factory, which opened the Fábrica de Pastéis de Belém in 1837. Today, they are a national treasure, traditionally eaten warm with a dusting of cinnamon or powdered sugar and accompanied by a small cup of strong black coffee.
Method
- 01
Prepare the dough
In a mixer bowl, combine flour, salt, sugar, oil, and rum. Add ice water and mix on low until a shaggy dough forms. Knead briefly until smooth. Shape into a disc, wrap tightly, and chill for 1 hour.
- 02
Laminate the pastry
Roll the chilled dough into a rectangle. Spread the cold, cubed butter evenly over the bottom two-thirds of the dough. Fold the top third down and the bottom third up (letter fold). Rotate 90 degrees, roll into a rectangle, and fold again. Repeat this process 3 times, chilling the dough for 30 minutes between each fold. After the final fold, wrap and chill for at least 1 hour, or overnight.
- 03
Roll and shape the tarts
Roll the dough into a long, thin rectangle about 0.3 cm (1/8 inch) thick. Starting from the long edge, roll the dough tightly into a log. Wrap in plastic and chill for 30 minutes to firm up. Slice the log into 12 equal discs (approx 2.5 cm thick).
- 04
Mold the pastry
Grease your tartlet molds with butter. Take a dough disc, press it into the center of the mold, and push it up the sides and over the rim, ensuring the dough hangs over the edge slightly. Pinch the overhang to seal the bottom. Place molds on a baking sheet and chill while making the filling.
- 05
Make the flavored milk
In a saucepan, combine the milk, 100g of the sugar, cinnamon sticks, and lemon zest. Heat over medium until it just begins to simmer, then remove from heat, cover, and let steep for 20 minutes. Reheat until simmering again.
- 06
Prepare the custard base
In a small bowl, whisk the egg yolks with the remaining 50g sugar until pale and creamy. In a separate small bowl, mix the cornstarch with 2 tablespoons of cold water to create a slurry.
- 07
Temper and thicken
Remove the cinnamon sticks and lemon zest from the hot milk. Slowly pour about half of the hot milk into the egg yolk mixture while whisking constantly to temper. Pour the yolk mixture back into the saucepan with the remaining milk. Whisk in the cornstarch slurry. Cook over medium-low heat, stirring constantly, until the mixture thickens and reaches 82°C (180°F). Do not boil.
- 08
Fill the molds
Strain the hot custard through a fine-mesh sieve into a jug to remove any lumps. Pour the custard into the prepared pastry shells, filling them about two-thirds full. The pastry should still be hanging over the rim.
- 09
Bake at high heat
Preheat your oven to its highest setting (typically 250°C / 480°F or higher; if using a convection oven, use 230°C / 450°F). Bake the tarts for 15-20 minutes until the tops are deeply caramelized with dark brown/black spots and the pastry is golden and puffed.
- 10
Cool and serve
Remove from the oven and let cool in the molds for 5 minutes. Carefully unmold and transfer to a wire rack. Dust lightly with powdered sugar or cinnamon if desired. Serve warm.
Pro tips
- ✦Keep all ingredients, especially the butter and water, ice-cold throughout the lamination process to prevent the butter from melting into the dough.
- ✦The hallmark of a perfect Pastel de Nata is the charring on top; do not shy away from high heat or under-baking.
- ✦If your oven does not reach 250°C (480°F), use the broiler/grill setting for the last 2-3 minutes to achieve the signature spots, watching closely to prevent burning.
- ✦Chilling the filled molds before baking helps the pastry hold its shape against the expanding custard.
- ✦Use a kitchen scale to ensure your dough discs are exactly the same weight for uniform baking.
Shop this recipe
As an Amazon Associate we earn from qualifying purchases.
Substitutions
- puff pastry (homemade) → store-bought frozen puff pastry (Thaw completely, roll thin, and follow the rolling and shaping steps; texture will be slightly less flaky but acceptable.)
- cinnamon sticks → 1 tsp ground cinnamon (Add directly to the milk; strain carefully through a fine sieve to remove sediment.)
- rum or brandy → orange blossom water (Use 5ml (1 tsp); adds a floral note common in some regional variations.)
Storage
Best eaten warm on the day of baking. Store leftovers in an airtight container at room temperature for up to 24 hours. Reheat in a 200°C (400°F) oven for 5 minutes to restore crispness. Do not refrigerate, as the pastry will become soggy.
What to serve with it
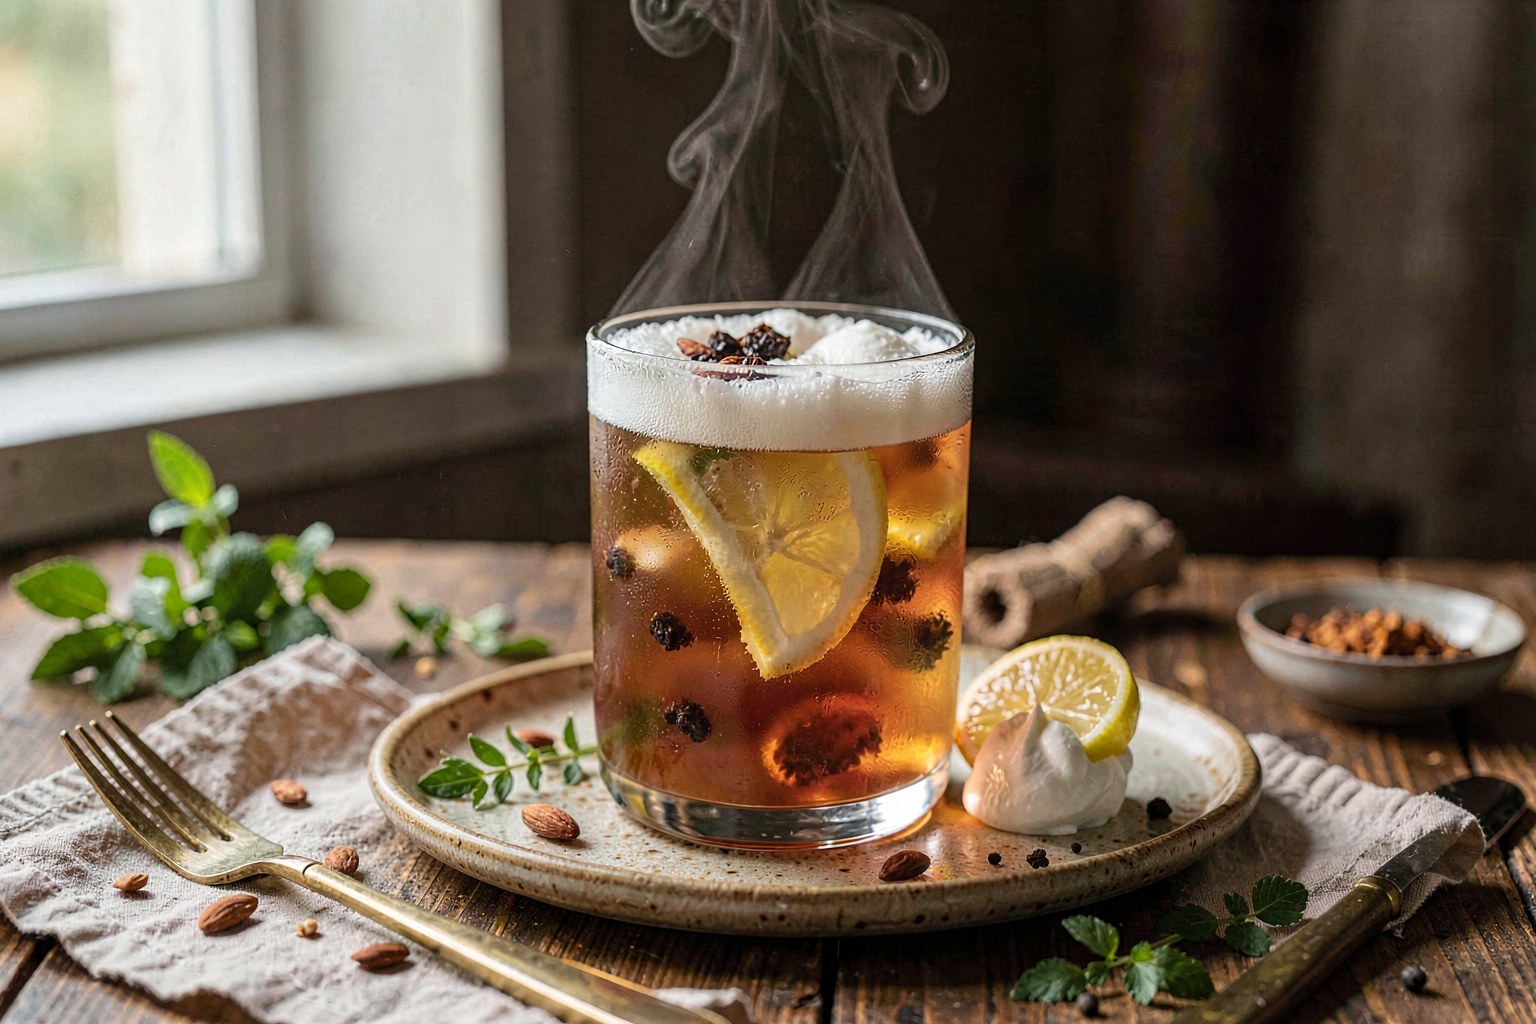
- Strong black coffee (Bica)
- Sweet red wine (Moscatel)
- Green tea
- Fresh berries to cut the sweetness
FAQ
Why did my custard scramble?+
The custard was likely heated too quickly or boiled. Always temper the eggs with hot milk slowly and cook over medium-low heat, removing from the heat immediately once thickened.
Can I make the dough ahead of time?+
Yes, the dough can be prepared up to 3 days in advance and kept refrigerated, or frozen for up to 1 month. Thaw in the fridge before rolling.
Do I need special tart molds?+
Traditional aluminum molds are ideal for heat conduction, but you can use a standard muffin tin, though the bottoms may be less crisp.
Share this recipe
Notes from the community
Sign in to leave a note.
No notes yet — be the first.